
How to Create Cute Labels for Storage Jars
- Feb 3, 2021
- 2 min read
What do you do when you are fed up with open packets everywhere? Buy storage jars of course! The food and treats for my two bunnies was getting a bit out of control and I was storing the daily food in an old ice cream tub, not so stylish. I found these cute blue jars from Ikea, logged on to Design Space to create my labels and thought I would turn it into a tutorial. I created mine for my bunnies but this design could easily be adapted to store your dog, cat or human food!

What You Need:
- Storage Jars
- Matt Vinyl from Crafty Cutter
- Transfer Tape
- Cricut Joy, Explore Air 2 or Maker Machine
- Cricut StandardGrip Cutting Mat
- Cricut Weeding Tool
- Scraper
How to Make:
Start by measuring the height of your jars, and pick out the coloured Vinyl sheets you would like to use.


Creating the label designs:
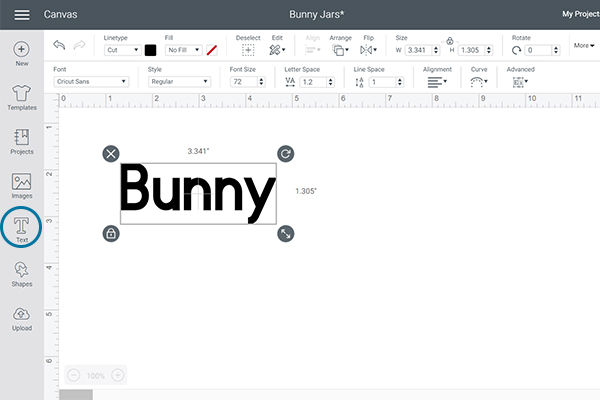
1. Open up Cricut's Design Space app. Click on text and type your chosen word.
2. Select the word and click on the Font drop down menu. Search for the font 'Bayamo' and select.

3. With the word selected, click on Advanced and Ungroup to Letters. Move the letters together so that the font joins up, select all and click weld. Change the cut to the colour of your choice.


4. Click Text again and add 'FOOD' or 'TREATS' for example. Change this font to 'Everyday Fonts - A Is For Alice'. Change the cut colour, resize and place under the first word.

5. Now you want to add some cute images to your jars, I searched for 'Bunny Ears' in Images and selected this design.

Ungroup the design and remove the words.


Select the heart part and click Contour. Remove the two inner ear parts, duplicate then do the same to remove the hearts. You will now have the hearts and ears as separate layers.


Place the ears above the text and resize to suit.

6. Resize the design to fit your jar height. Duplicate the text and amend the white word to 'TREATS' or similar. Add other Images, I used the hearts from the bunny ears, carrots and parsley. I also found a dandelion to use for the Hay Topper jar. Change the cut colours to match your vinyl.

7. Once you are happy, click Make It. This will take you through to the mats screen, change the Material Size to A4 on all mats.

8. Click continue and select the material Matte Vinyl. Follow the on-screen instructions to cut your vinyl.

9. Use a weeding tool to carefully remove the negative from the cut designs. Transfer onto transfer tape, you can either do this in one go or piece by piece for each jar. Make sure the designs adhere well by using the scraper tool.


10. Then, simply transfer the designs onto each jar! Use your scraper tool again to smooth out the vinyl when transferring.


Comments